Whether you want a doll’s blanket to match a bed, dollhouse, pram, or any other colour scheme, being able to make one yourself gives you the freedom to make it exactly how you like.
This guide takes you through everything you need to make a doll’s pram quilt, and the simple step-by-step guide will help you create the perfect dolls bedding for your little one’s interactive doll and dolls pram.
Take your child’s doll accessories to the next level
Gradually building your child’s doll and doll accessory collection gives them more opportunities to play with their toys. Our incredible range of dolls prams, dolls pushchairs and dolls pram accessories makes it easier for your little one to take their favourite doll out and about.
Alongside a vast selection of high-quality products, we also want to help our customers put a personal touch on their child’s playtime. That’s why we’ve created this guide on how to make a handmade doll blanket.
Supplies & equipment
Before you get started, it’s best to get all the supplies and equipment you need. These supplies should help you create a doll’s blanket that measures around 18 inches by 24 inches using a quarter inch seam allowance.
To make your first blanket, you’ll need the following equipment;
- Scraps of fabric
- Background fabric (roughly a fat quarter)
- Binding fabric (4 x fat quarter width strips of fabric or two with of strips of cloth)
- Batting (20″ by 26″)
- Backing fabric (20″ by 26″)
- Rotary cutter
- Quilt ruler
- Pins
- Thread
- Cutting mat
The freedom of choosing your own fabric opens up a world of possibilities for the doll quilt you plan to make! Every child has their own personal style and this is the perfect activity to do with them, although you may need to do any cutting or sewing yourself. It’s easy to tailor the doll’s blanket to your child’s preferences, and it could even match their own bedding.
How to make a dolls pram blanket: Step-by-step guide
Now that you have all the materials and equipment in place, you’re ready to start making your doll blanket. If you’re happy with how it turns out, you can even create another piece of dolls bedding like a pillow or mattress.
Step 1: Make the background squares
The very first step is to cut out 48 background squares that measure 2.5″ by 2.5″. Your little one can help you measure these squares out onto the back of the fabric to act as a guide.
Step 2: Cut the fabrics
After cutting the background squares, choose the print fabrics that will be used as plus blocks for the front of the blanket. Your children can pick whatever colour or pattern they like, allowing them to get creative and explore their personalities. Cut two 2.5″ by 2.5″ squares and one 2.5″ by 6.5″ rectangle for each fabric.
Step 3: Sew plus blocks together
Sew one of the pre-cut background squares, a print square, and another of your background squares. Press the seams to one side or open and repeat this for the top and bottom rows of the block.
Place the cut-out square’s right sides together and sew them. Chain piece the blocks together to make sewing faster. After joining all the blocks, they can be removed from the machine, and any joining threads can be snipped at this point.
Sew the top and bottom of the plus blocks to the centre unit and press the seams in the same direction or open. You can choose between a flat quilt top or nested seams at this point, and you’ll be able to create all 12 plus blocks.
Step 4: Sew the quilt top together and baste
To sew the doll quilt top:
- Make four rows of plus blocks.
- Arrange the blocks so the seams are nesting if they are not pressed, and then sew each row together.
- Finish this by pressing the quilt top.
After this, you need to secure the quilt layers in a process called basting. First, lay out the backing face down. Then, add the batting before placing the quilt top on. You can pin them to help keep them in place after smoothing them down.
Step 5: Add diagonal quilting lines
Next, you should mark the quilting lines. You can press lines gently into the quilt.
Step 6: Quilt and bind the quilt
When quilting your doll quilt, a stitch length of around 3.0″ is advisable when you quilt straight lines.
To bind, use a quilt ruler to trim the square quilt. Press the seams open after you sew the 2.5″ fabric strips together.
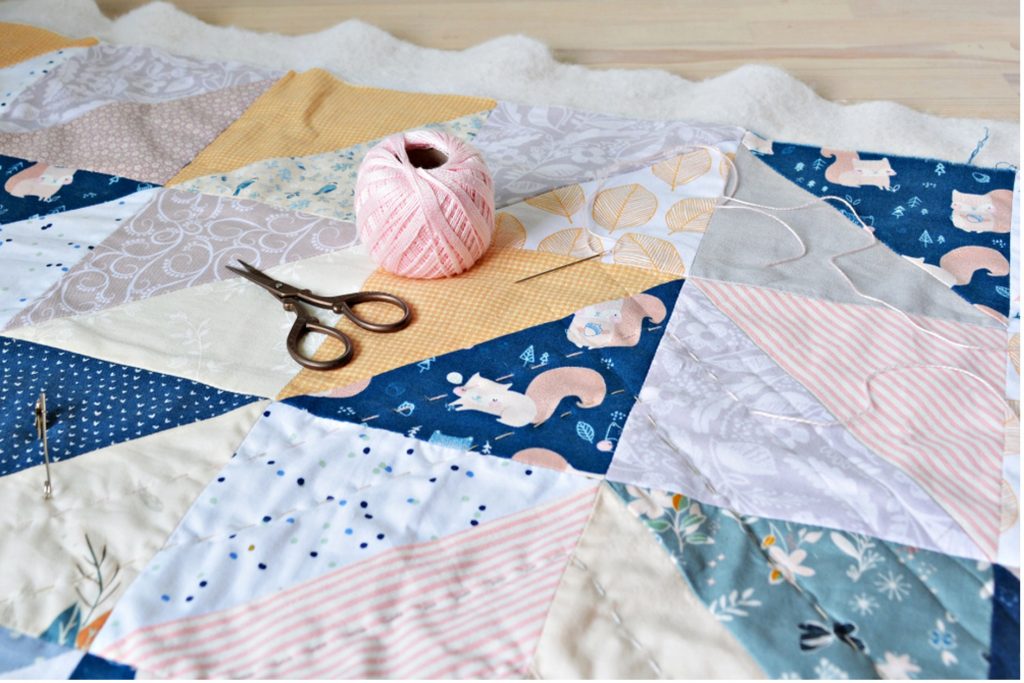
After taking the wrong side of the binding and folding them together lengthwise, give it a good press and attach the binding. You should now have a pretty homemade dolls quilt ready for your child to play with.

FAQs about making a dolls pram quilt
How long does it take to make a doll blanket?
The most time-consuming part of making a doll blanket is the preparation. After that, you should be able to create a wonderful dolls quilt in your child’s chosen pattern within around 2 hours, depending on your experience.
Don’t worry if it takes a little longer – the more you work on projects like this, the quicker you’ll become at making great items like this.
How much are the materials for doll bedding?
The cost of your doll quilt depends on the fabric patterns you want to use and the materials and equipment you already have. If you are looking for a specific pattern, you may need to buy this fabric. Using old scraps or excess material helps to reduce your costs. You could even use your little one’s old clothes or bedding.
When buying equipment for projects like this, it’s always good to think of it being an investment rather than a one time cost for this specific project. When you buy quality equipment, you’ll be able to use it time and again on future projects.
Where can I get doll supplies?
You can find fabric and supplies from any arts and crafts shop or even around your home. We offer a great selection of doll’s prams accessories if you want to create a full set, including matching dolls changing bags and accessory packs for our doll’s prams and pushchairs.
Can I knit a dolls pram blanket?
As well as hand-sewn dolls pram quilts, knitted blankets are an excellent way to provide dolls bedding for your children or grandchildren. They make adorable gifts for birthdays or Christmas and are the perfect way to give a personalised gift that doesn’t cost a fortune.
A great way to get inspiration and tutorials on how you can knit a dolls pram blanket is by browsing our site to see the great prams and accessories you can match.
Discover our range of dolls prams and pushchairs
Find the perfect dolls prams to match your brand new handmade dolls pram quilt. Our collection of dolls prams and pushchairs are perfect for children as young as 18 months all the way up to those aged 13 years or older. We also offer a selection of complete dolls pram sets which are perfect if you’re looking for a finished look alongside a range of different pram and pushchair colours within our range.
For more, read our guide on the best dolls accessories for your little one.

